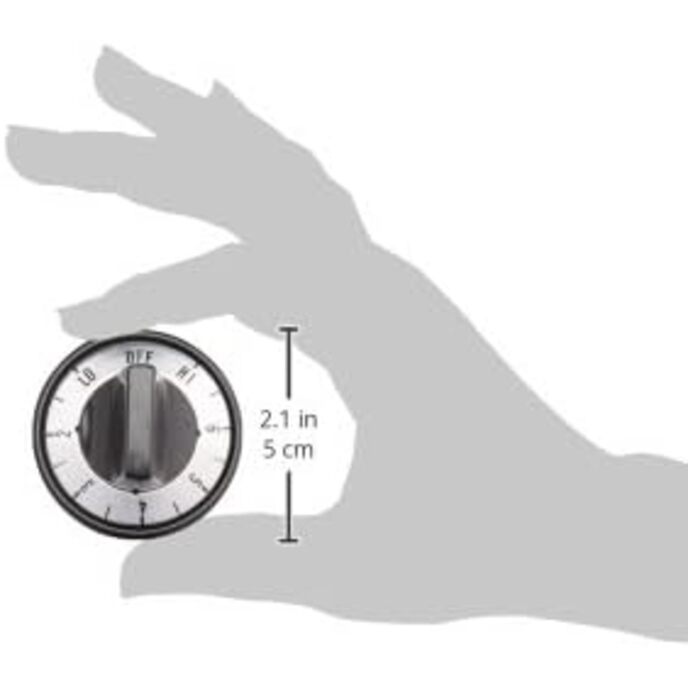
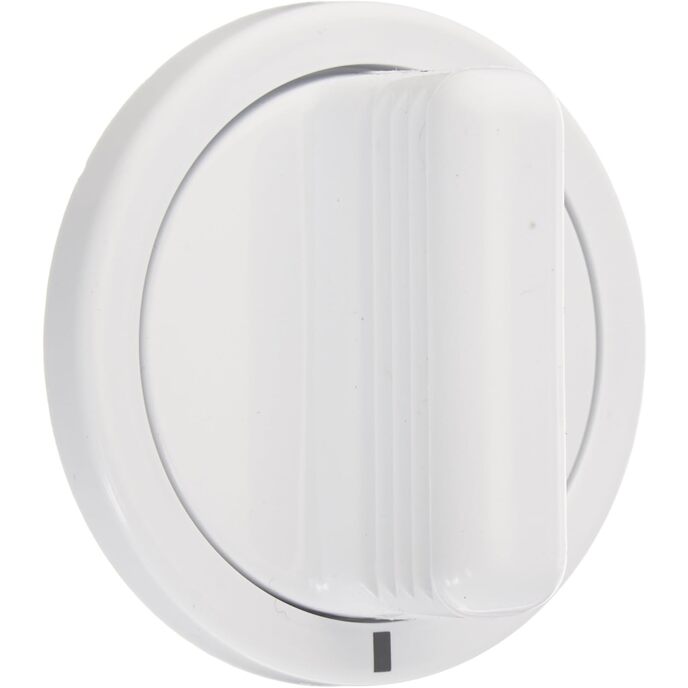
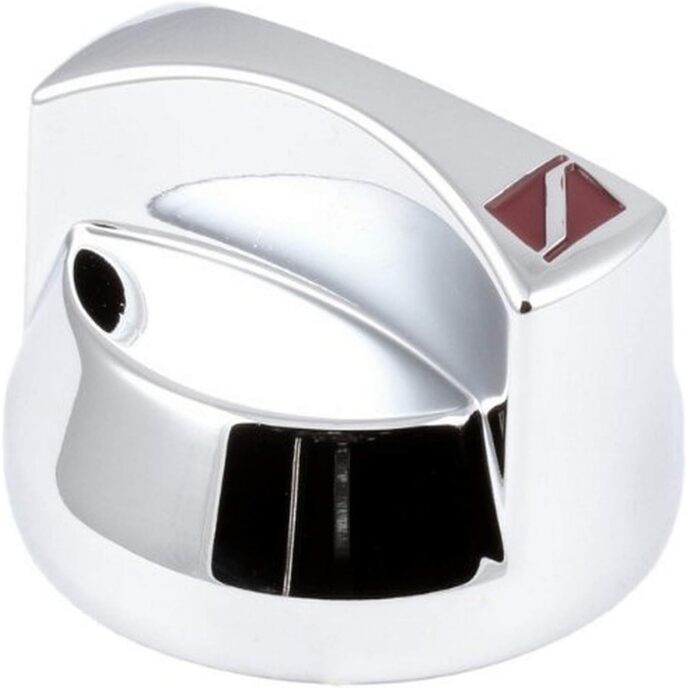
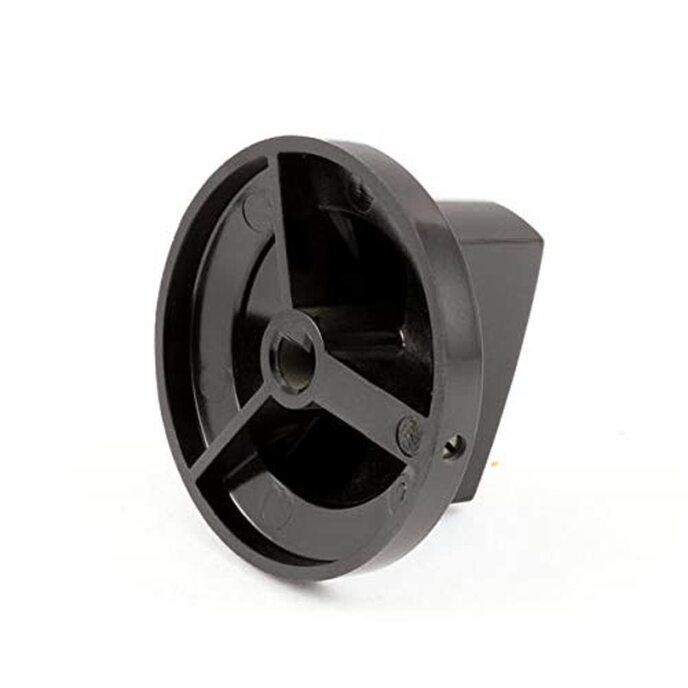
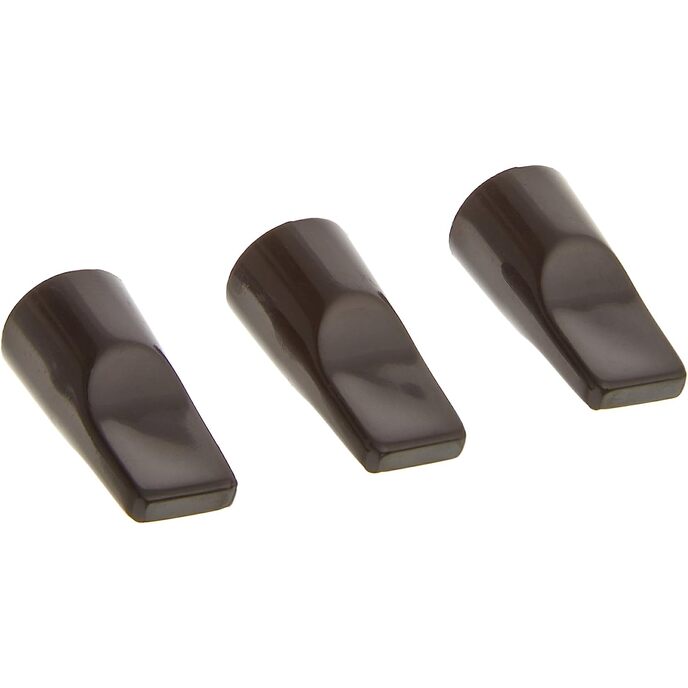
For the price, these replacement knobs are great. The writing had worn off of my old knobs, so the only fix was to get all new ones. The inserts don't make for a tight fit into the black knob, but the inserts stay on the posts very snugly, and the knobs are secure enough. Putting on the printed aluminum labels was tricky business. You have to be careful to not stress and bend them, because then it will keep that bent look even when you [try to] unbend them. The instructions are minimal, but a patient person should be able to figure out how to prep the surfaces, peel the adhesive off the aluminum labels and stick them on well enough. I pre-fitted the aluminum rings before peeling off the backing, and found they had slightly too small an opening. Holding them carefully, I was able to take an X-Acto knife with a #11 (pointy) blade, and with the very tip, gently whittled away the inner cutout, enlarging it just a little until they slipped on and would lie flat against the black plastic. Next I peeled the backing off and gently set the ring down onto the knob, massaging it a little at a time until it was down. I used the open end of an empty prescription bottle as my presser, because it was just big enough to fit over the handle and rest against the aluminum without scratching it or leaving an impression in any one spot. I gradually slid the bottle around and around on the label, pressing the whole thing down so all the adhesive was pressed. You have to be careful to not make ring or arc impressions in the aluminum while doing this, because if you aren't doing it just right, you will. Think "craft," "art" and "massage." My cooktop (controls shown) is a 1977 vintage, so I got over 40 years out of the first knobs. These will hopefully outlast ME! :D Update: After using these knobs for a month or two, I was having problems with the inserts sliding too far down the steel post. When I would press a and turn the dial, it would either come off in my hand or fail to push down on the steel shaft enough to let me turn the burner on. My solution for this was to take needle nose pliers and a paper clip and wrap the paper clip around the insert like a square letter C with the open part down. I started by sticking the end of the wire intobthe hole on the underside of the colored insert, then carefully nent and fitted the wire to wrap around the bottom edge, up that side in the recessed part, then dirwctly across the top and down the far side recess, ending with a small bit bent under that sode to keep the wire from lifting in use. To repeat, I fitted the wire snugly against the colored insert, bending right angles as needed, so the wire fit tightly onto the insert and laid across the top where the steel shaft was pushing up through. That kept the insert from sliding down the shaft, and since the wire fit in two of the four slots around the outside of the insert, it did not interfere with the black plastic knob when IT was installed. Now everything stays in place, and I am happy. If you try this fix, be patient, and don't worry if you mess up several paper clips getting it to work. If you aren't up to the task, find a friend or relative who would be good at figuring out how to bend the wire for you.