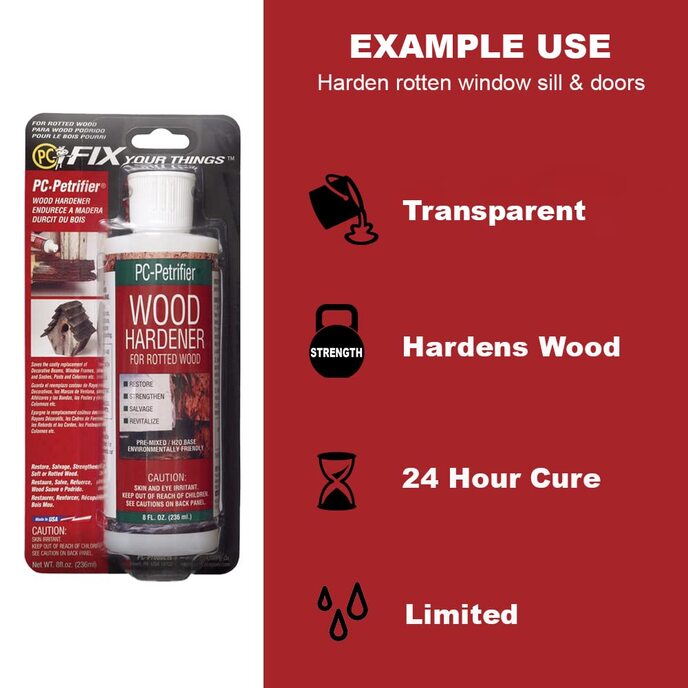
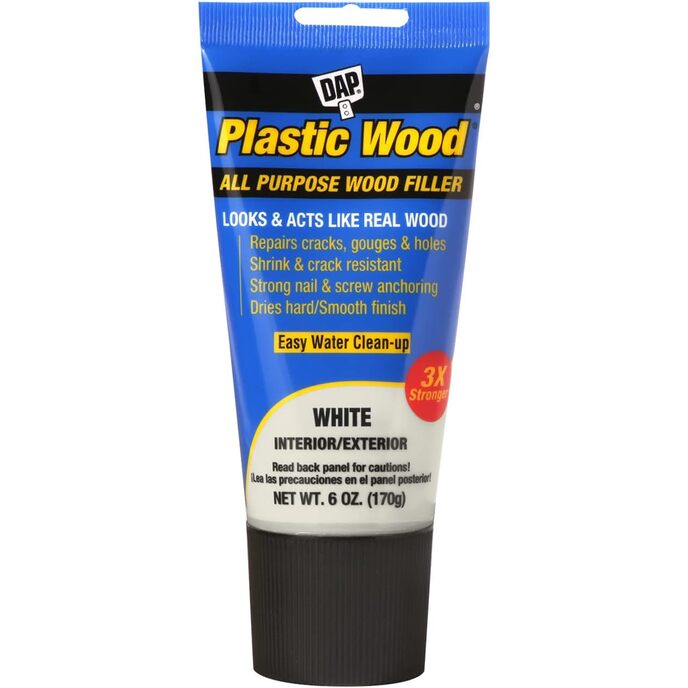
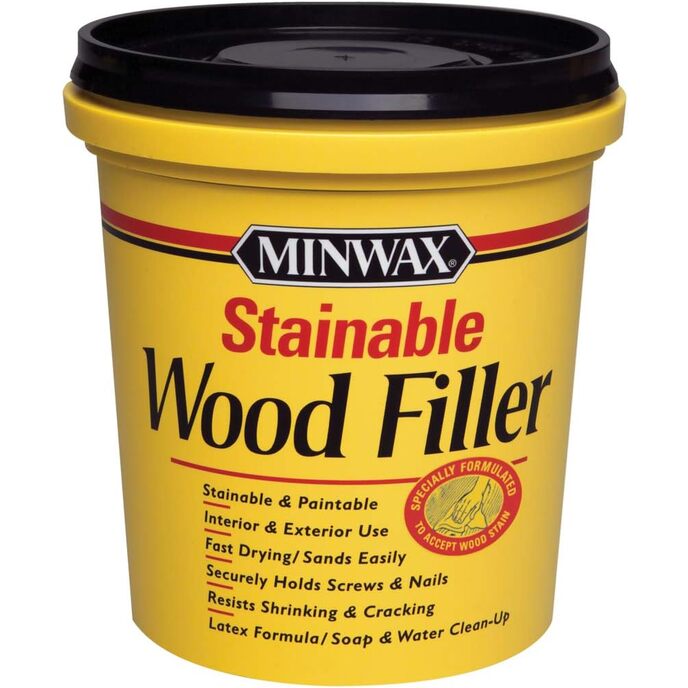
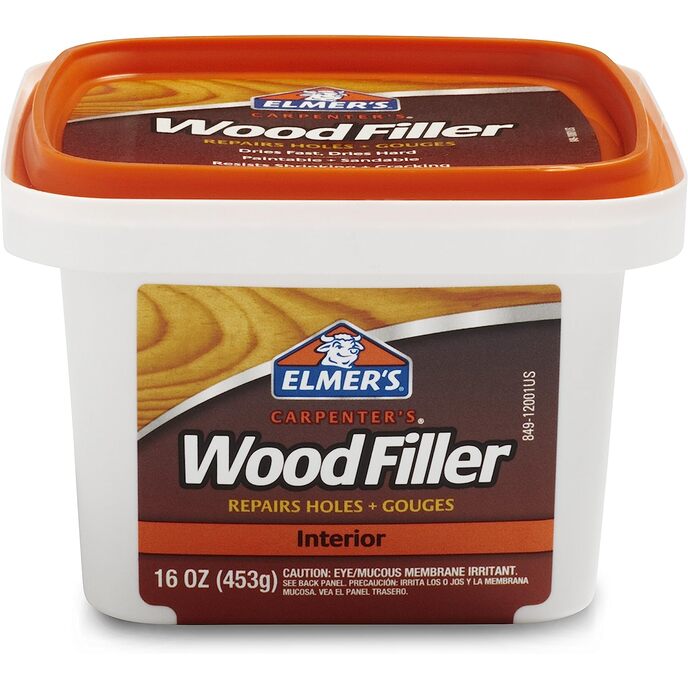
They only seem to sell this in a light wood color, which is odd because it barely darkens when you apply stain. YOU ALSO CAN'T PRE-MIX IN STAIN. Maybe oil-based stain would work but PC recommends not mixing with anything liquid. The water-based stain I tried pre-mixing actually left the wood filler like soft rubber even after five days of curing. A comment on my review mentioned that the PC Woody web site says you're supposed to buy dry pigments to add to the filler in order to tint it. I tried to use some online color mixing tools to figure out what color I needed to mix in but the colors I came up with were not even close. It seems real materials don't behave like RGB colors. Unable to find anyone recommending tools or methods of color matching other than experimentation, I picked a dark reddish brown that was the same hue and shade as a stained piece of wood but much lower luminance (using an hsl color picker). Since it was so dark, it only took about 10% pigment to get a stained filler that matched fairly well. The color was "burnt umber" from Earth Pigments Company and I was matching a redwood-toned stain on pine. Since the wood darkens more than the putty when you stain it, you have to pre-color it to be darker than the wood, but not as dark as the stain. The putty turns a disturbingly purplish hue with 5-10% pigment mixed in but ends up matching the wood pretty closely after you stain them both. I don't think you'll ever match it exactly but it's worlds better than untinted putty. Keep in mind that tinting makes more go to waste. I can no longer fill a bunch of voids and stop halfway through one. When I mix another batch, it won't be exactly the same color so filling the other half of where I stopped won't look so great. So you have to stop wherever you think you won't have enough to complete the next void and waste the rest of the batch. If it's still soft enough I suppose you could try mixing some new stuff into the previous batch. As other reviewers have mentioned, the filler is sticky. I think that helps it bond well to wood because when I accidentally cracked a piece of hardened putty off the wood, the putty took a layer of wood with it - no part of the putty pulled away from the wood it had been touching. Unfortunately the stickiness makes it stick to your tool as well, so as you try to smear it into a hole it will pull away from one side of the hole because it's sticking to the tool. You can keep pushing it down and working it back and forth until it bonds well to the wood, but you can't get a very smooth finish unless you use denatured alcohol on your tool. I later discovered that using a metal putty knife such asAllway Tools 1-1/2-Inch Stiff Nylon Handle Putty Knife works much better than a plastic putty knife for smoothing. Even with metal, it's pretty inevitable that you'll have to sand it thoroughly after it dries or it just looks sloppy. With some practice and the use of alcohol it may be possible to get it smooth and avoid much sanding, but my attempts at that didn't feel any faster than just sanding it. When it's closer to dry I think the alcohol trick would be a lot more successful but I haven't bothered since I'm going to be sanding everything. I also read someone say you can wait for it to "almost" harden and then shave it smooth with a sharp chisel putty knife as if it were hard cheese, but I haven't tried that. Once dry it's stronger than wood, though still possible to gouge with a fingernail and enough force. It sands at about the same rate as the wood around it. It cuts more easily than wood with a sharp knife and almost feels like very hard rubber as you're cutting. It also absorbs some stain - more stain than water-based Elmers - but it doesn't darken very much. Water will soak into it just like stain will, so it has some amount of porousness. But water won't disintegrate or weaken it - it didn't budge when a 1900psi pressure washer was placed a couple inches above it. Dried stain doesn't crack off of it like it does on Elmers. I also think PC Woody smells kind of nice, like wet wood, and it doesn't contain anything too toxic like the non-water based single-part fillers. The can warns that epoxy resin can irritate skin but I've gotten it on my fingers and had no reaction. It's also nice to be able to make a big batch and have an hour to work with it instead of trying to beat the clock with single-part fillers or having to keep popping open the single-part filler can and hammer it closed every time you remove a small amount. It also won't dry out when stored in the can for too many years like at least some single-part fillers. Since it contains real wood it hopefully will behave somewhat like real wood and expand/contract with the humidity so it won't crack away from what it's filling, but I have no idea if that's the case. I do know the few places I used it on the deck survived a winter and maybe 25 days covered in snow without any problem. I've read that Bondo (often recommended for outdoor wood repair if you paint over it to hide its odd color) is too hard and doesn't expand/contract so it can crack away from what it was used to repair over the years. As far as I can tell, PC Woody does not expand or contract at all as it dries or even a year later. One other important thing I noticed - there's one hardware store in our mountain community that all the contractors go to for supplies and I've noticed they seem to only carry the best brands due to lack of space. PC Woody is the only epoxy filler they carry so that must mean something. However, they have a much larger section of single-part Famowood in all sorts of tints. I actually found a can of Famowood that came with our house and the can looks really old but it still works. It's too dark for my purposes but I did a little test with it and it's pretty good other than I hate the acetone smell and it hardens too quickly. Didn't try it outside. Oh and the PC Woody can says it's made in the USA so that's a big plus. The second can of this filler I bought seems slightly thicker and harder to mix than the first can. It also seems slightly less sticky, which makes it slightly easier to smooth, but I worry it won't bond as well to the wood. I also found that it started to get unusably stiff and less sticky after only 15-20 minutes, much faster than the batch from the older can I'd been using immediately before opening the new can. I originally thought the second can was defective and curing too quickly, but I think the problem was actually that I mixed too much of it. From what I've read, if you mix a big blob of it, the heat of the curing process builds up more in the core of the blob and it hardens faster. I mixed a smaller batch and it stays workable longer. You can also spread a larger batch out as a thinner layer on a mixing surface instead of making a blob. I still feel like the second cans might be hardening a little faster than the first cans, but it's hard to be sure. Finally, this filler is really expensive compared to real wood. I thought the 48 oz cans would last forever, but I'm already running low for my project. When I got down to 1/3 a can left, I thought of mixing in chunks of real wood in amongst the epoxy filler in the larger voids. I tried using chunks left by a tree chipper machine but almost all had heavy damage to the wood. Since voids created by dryrot are long and somewhat triangular and fairly straight (as rot follows the grain), I cut 2" off the end of a 2x4 and used a chisel to break it up into small strips. Many strips were triangular and some square - a good mix. I then fit these into the rot pockets like a puzzle before epoxying. I lifted each wood chunk, laid epoxy paste under it, pressed it in, then filled in around and sometimes over it. Of course doing it that way takes a lot more time, but it does save a lot of filler. The filler was almost too hard to work before I finished with it, so remember to mix less than usual.