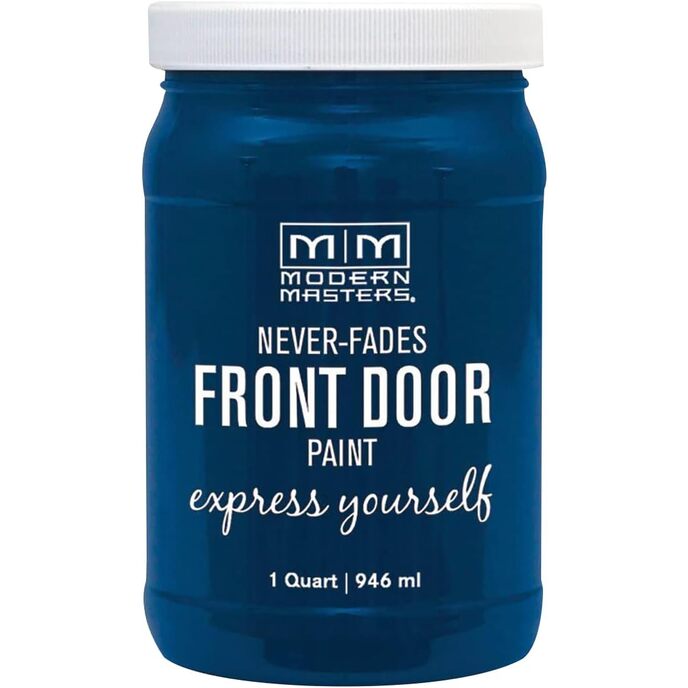
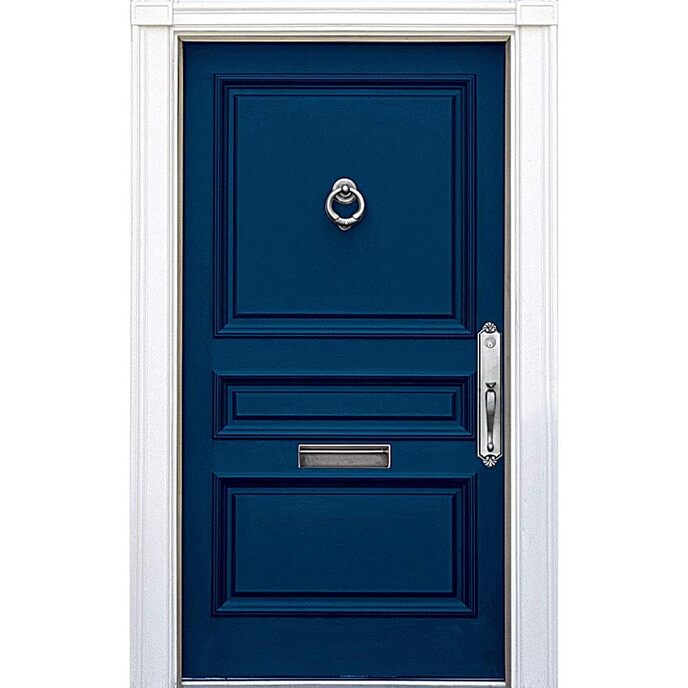
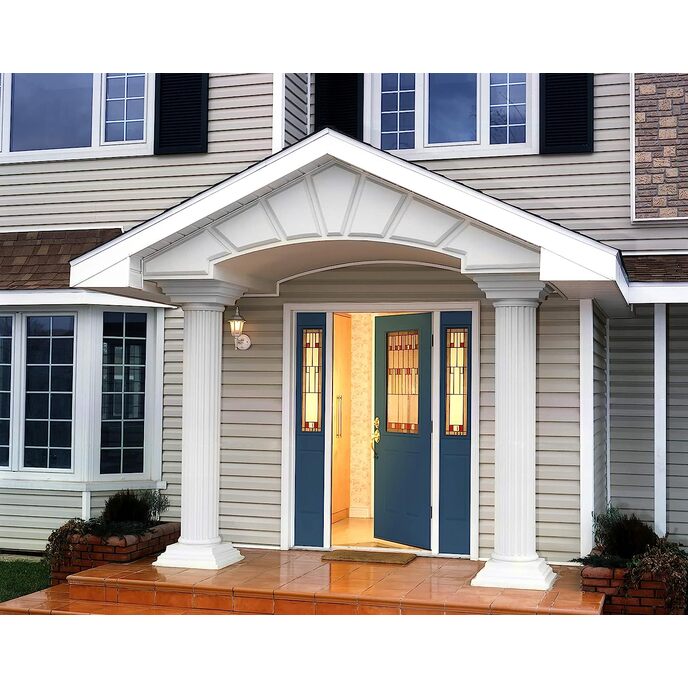
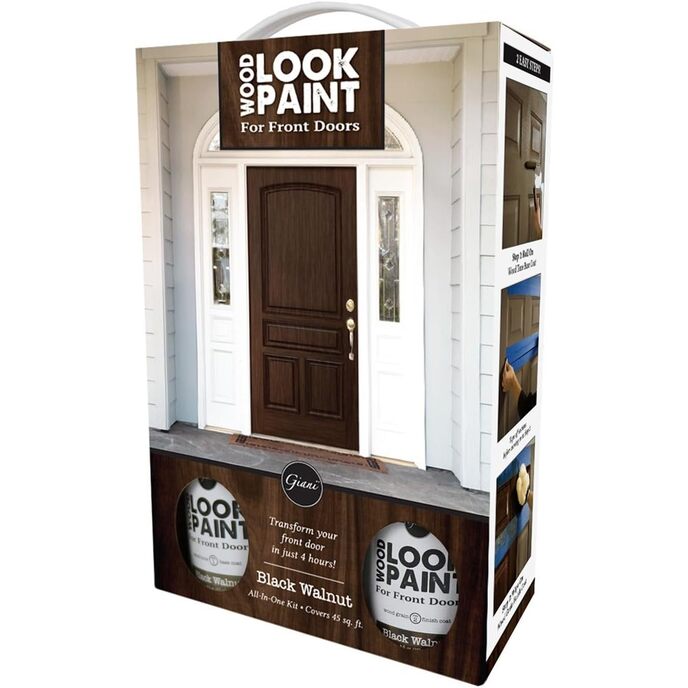
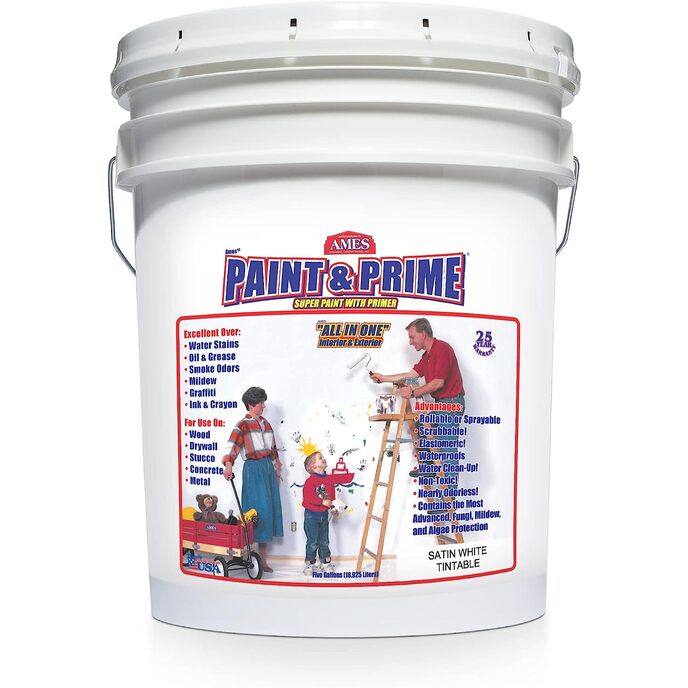
Lovely paint. Lovely results. It was easy, too. Here's how I did it in pictures. YOU can definitely do this. I hope this helps at least a few reluctant painters. A great paint job is really all about preparation, which means assembling the right tools before you start. TOOLS I USED: 1.Purdy 144080310 1-Inch Angular Trim Dale Brush, X-Large 2. Artist brush, #8 Filbert, for touch-up.Guerrilla Painter Short Handle Bristle Brush, Set of 4, Filberts 3.Shur-Line 3700C 4-Inch Foam Mini Roller with 12-Inch Handle Make sure your roller is for SMOOTH SURFACES. It will probably specify "doors and cabinets." The 4-inch size is perfect. The 6-inch size is clumsy for this job but it would work. 4. One zipper lock bag, sandwich size. Protects brushes between coats. 5. One zipper lock freezer bag, quart size. Protects roller between coats. 6. One zipper lock bag, gallon size. Protects paint tray between coats. A small trash bag will work if your tray is too large for a gallon bag. 7. Disposable plastic paint tray likeFoamPRO 306 Mini Roller Paint Tray, 6" . I actually reused a plastic vegetable container that previously held a pound of mushrooms. It just needs to be a little larger than the roller. 8. Several paper towels 9. Less than one roll of painters' tape. The 1-inch size (actually 0.94") is fine for this job.Scotch ScotchBlue Painter's Tape 2090-24A, .94 in x 60 yd (24 mm x 54,8 m) - 0.94" Width x 60 yd Length - Rubber Resin - Adhesive, Residue-free - 1 Roll - Blue . A local source may be less expensive. 10. Some old plastic as a drop cloth 11. Paper for masking glass, etc. Newspaper works fine. I already had some rolled brown paper so I used it.Trimaco GP12 General Purpose Masking Paper, 12-Inch x 180-Feet, Brown 12. Keep hands neat with disposable gloves.Ammex AINPF Indigo Nitrile Glove, Medical Exam, Latex Free, Disposable, Powder Free, Large (Box of 100) 13. And of course, the paint. PHOTOS: 1. Paint comes packaged like peanut butter. Sealed well. Easy to open. 2. Door surface may be smooth or textured. This JELD-WEN "smooth" fiberglass door has just enough surface to hold paint. 3. I removed the latch and deadbolt. You could leave them installed and mask them. The glass panel is masked along with the sweep at the bottom and the latch side of the door. On the inside of the door, not shown, is masking at the top and along the hinge side. 4. To neatly mask hinges, overlap several strips of tape, a half inch or so above and below the hinge. Then use a utility knife to gently cut along the edge of the hinge. Peel off the excess. Rub the edges to be sure they adhere. 5. Before starting brush work, "marinate" your roller. Pour some paint in the quart bag. Put the roller in. Zip bag closed. Make sure the entire roller surface is wet with paint. This eliminates splotchy coverage when you first start rolling. There's not much surface area on a door to "work in" the paint to the roller, thus the "marinated" roller technique. 6. Most doors have panels or trim details. Use brush to paint the parts that are not flat. Leave the flat surfaces for the roller. 7. You don't have to paint a perfect edge. Just wipe the flat edge with a paper towel to smooth out any paint. You only need SMOOTH, not clean. 8. Paint the top of the door. Nobody will see it, but this helps keep a wood-framed door from warping. 9. Paint the hinge side the same color as the door. (The latch side is usually the same color as the inside of the door.) 10. Bag your wet brush right away. It's okay if the handle sticks out. 11. Get to work with your marinated roller. 12. Roll the top. 13. Roll the rest of the rails. 14. Roll the flat part of the panels. 15. Bag your tools while the first coat dries. This paint dries nicely--probably one hour. Then do it all one more time. Carefully remove all masking. Wash your brushes with water. Rollers are hard to clean--I usually pull them off the handle and dispose. Easy. Right? I am REALLY PLEASED WITH THIS PAINT. Otherwise I never would have written such a long and detailed review. Thanks for reading. Good luck with YOUR door.