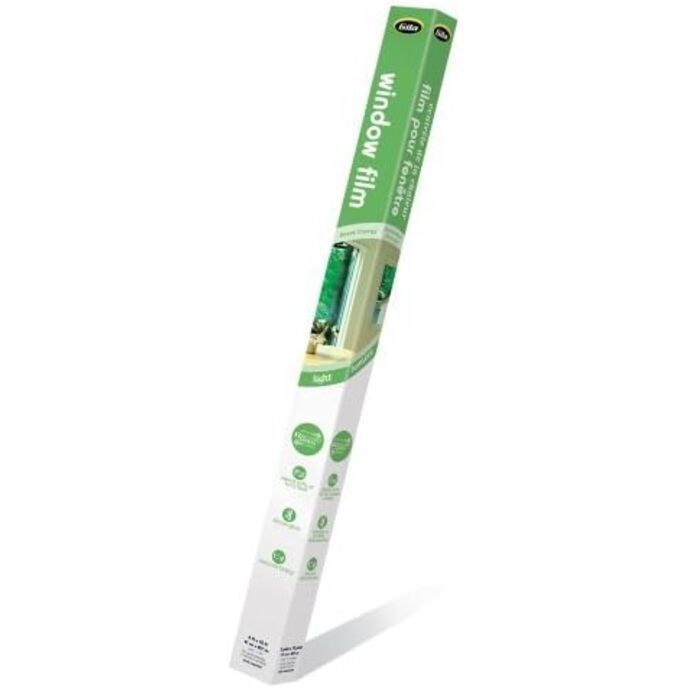
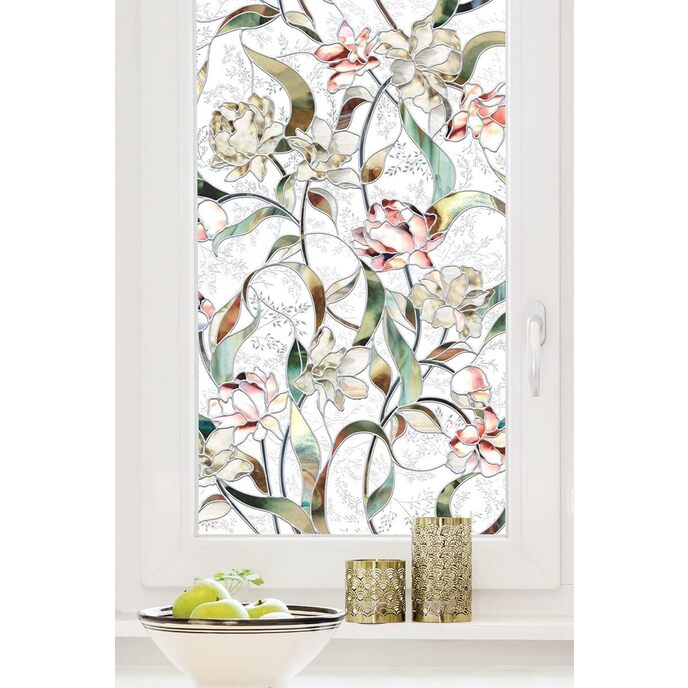
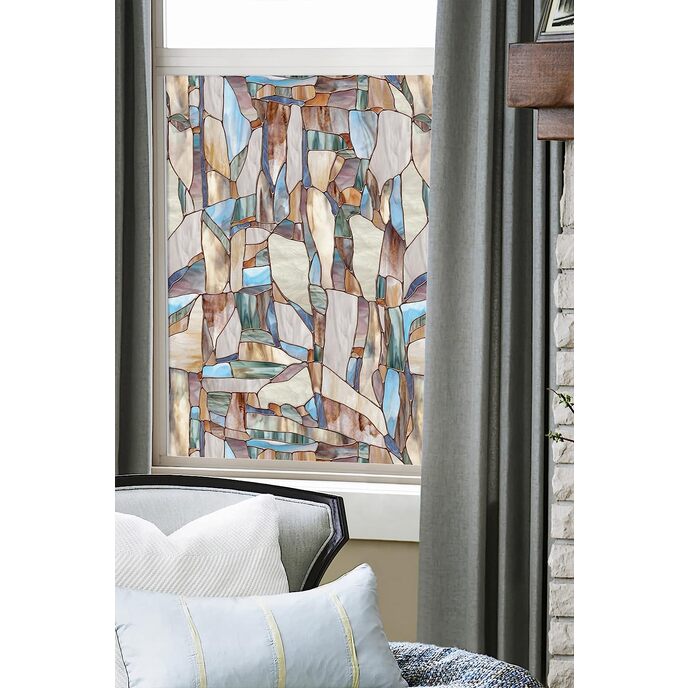
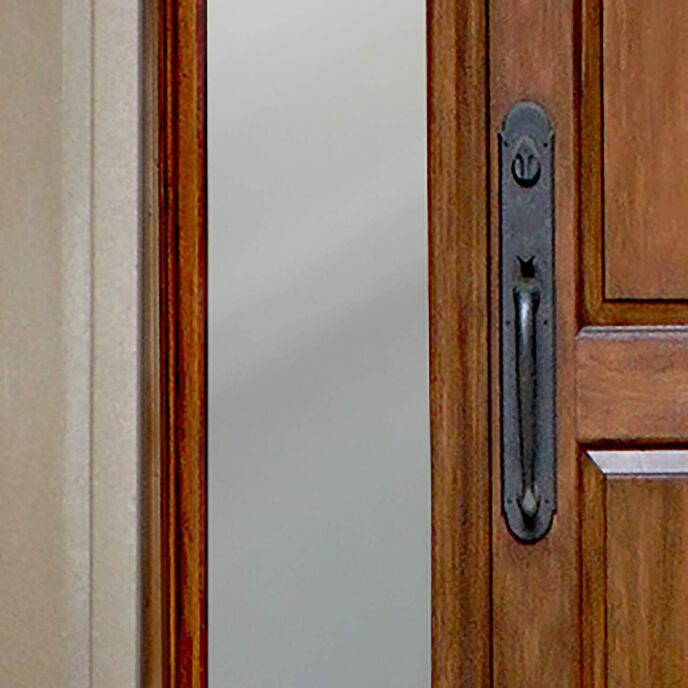
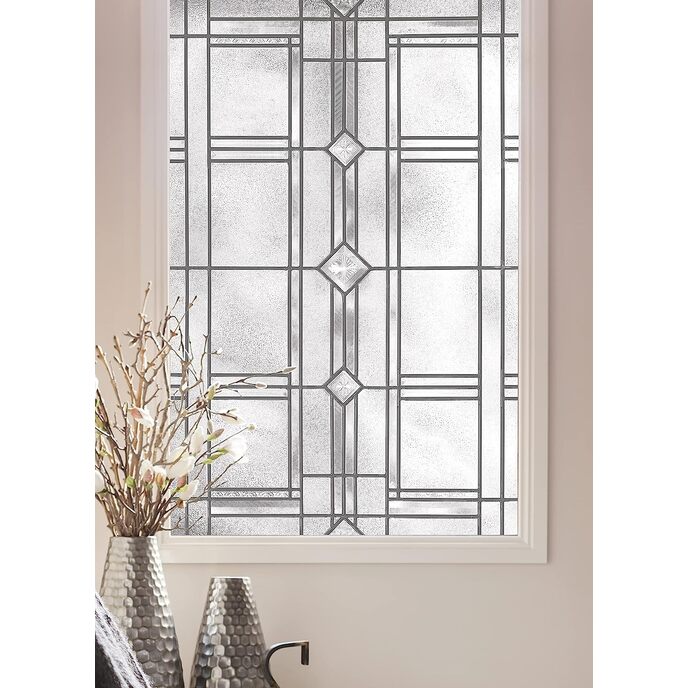
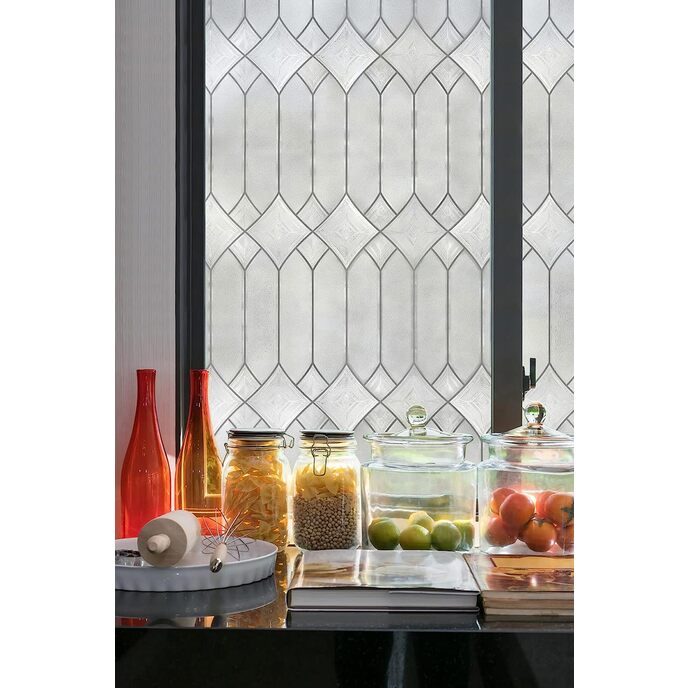
I bought an older home that was a bit of an efficiency disaster. Old and inadequate insulation, single pane windows, poor attic venting were my biggest offenders. I knew windows were expensive, but I wasn't expecting to get a $20k quote back FOR A SINGLE ROOM. Sure, it has several 8' x 4' picture windows, but the ROI for the windows was not going to be anytime inside of my lifetime. I got a company to give me a quote on low-e film installation, and it was not reasonable either (in my opinion). I purchased Gila Heat Control Light Gray Adhesive Residential DIY Window Film, a starter application kit, several extra bottles of solution, and decided to do it myself. After putting this film on several windows and doors, I have some observations. First of all, the film is great. Once installed, the film dramatically cuts down on the heat the heat the windows were previously responsible for. With no other changes the film dropped my electricity bill by about $150/mo. in the summer months. That's a very large, energy inefficient house in Houston's sun - YMMV. Second, this film has the nice side benefit of stopping indoor sun bleaching of flooring and fabrics. Third, this film does tint the windows and cut down on some of the visible light. This doesn't bother me, but it is something to keep in mind if you are big on your natural light. Finally, the film is more or less reflective from the outside when the outdoor light exceeds the indoor light... and it's not reflective at all when it's brighter indoors. So, now that you know what it will do for you, let's get into the installation. The film comes on a large roll, and it helps to keep the box as a dispenser. Aside from protecting the film, it does act as a bit of a straight edge for cutting off of the roll. When you actually want to install some film, you will clean the window as well as you can, being sure to make sure no lint or fibers are left behind. Gila has an installation starter kit with a good cloth to use for this. You will also want to make sure that you install the film when it's light outside, BUT WHEN NO DIRECT SUNLIGHT IS ON THE WINDOW! This is very important, as it makes it very difficult to keep enough of the solution between the film and the glass. Having ambient light makes it much easier to see bubbles. I installed about half of my windows only cutting the film to length, but have found it easier to cut the pieces to the approximate length and width (especially for deep sills). You can use tape to peel apart the backing from the film. It really helps to have two people fir the installation, but I did most of my windows alone. You spray the window with the application solution (from the top down, as it flows down anyway), but you have to be quick about it. Once you've placed the film, you squeegee the air bubbles and solution out from the top-middle, out the sides, and then down the center and out the sides (bit by bit, down the length). The solution and the squeegee are also in the starter kit, though I'm sure there are other options. After wiping down the excess solution at the window frame, I trim the film back to about 1/4" from the edge of the glass. I use a metal straight edge that's backed in cork, so it doesn't scratch the film. The metal part is handy because I use a razor blade to trim the film. I DON'T use the cutter in the starter kit, because it's awful. Glass is very had and will dull your razor quickly... change the razor out pretty frequently. I leave a 1/4" margin because of how my windows are secured into the frame. There's adhesive that makes the surface irregular at the very edge, plus you do need some room to get the excess solution out. Depending on your windows, you may leave smaller margins, but I'd resist the urge to go all the way to the edge, as it may peel or bubble at the edge with thermal expansion and contraction of the glass. The smaller the glass surface, the easier it will be to apply the film. For anything over 8 sqft, I'd recommend having another person on hand. I did several of the 8' x 4' picture windows by myself (with a 48" Gila roll), and I did it by peeling back the backing only at the top of the sheet. Once the top was placed, I temporarily taped it in place. I peeled the backing down the sheet a foot at a time, spraying behind the film as I went. You can do it, but I'd be lying if I said it was easy or time efficient. Bribe a friend with a pizza or alcohol and it will go much faster, and probably with better results. What's a bad result? Well, I ended up junking about 5 windows worth of film. I accidentally creased the film. I accidentally had the film's adhesive contact another part of the film's adhesive (which creates a surface imperfection you can't do anything about), I accidentally cut a piece too small, and I had bubbles I couldn't do anything about post-installation. Almost all of these problems can be avoided by using two people. Sometimes, though, stuff happens... and that's when you're glad you bought a hundred feet of this stuff. Personally, I think this is a no-brainer for anyone who doesn't already have low-e windows. I would buy the installation kit, and 2 extra bottles of solution per 100' roll. An extra squeegee is a good idea if you've got help. The only reason I've only given a conditional recommendation is because installation isn't easy. If you've got two people, and you follow what I've written above, it's not really all that HARD either. The main thing to keep in mind is that not everyone does tasks like this well. It's sort of like the subset of the population that has problems assembling Ikea furniture. I suspect there may be a convergence on the Venn diagram. However, if you've done basic home DIY stuff before, you can probably do this, too. I just suggest starting with smaller windows and refining your technique on those. Conditionally recommended.