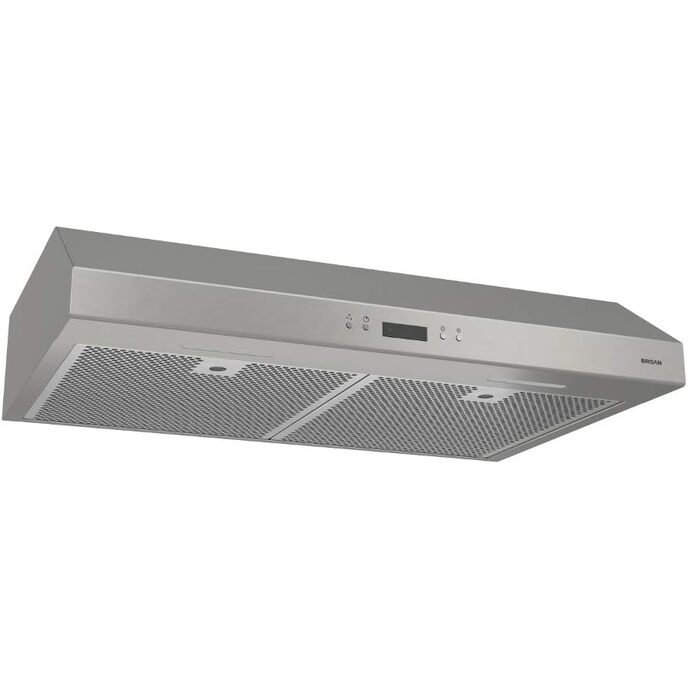
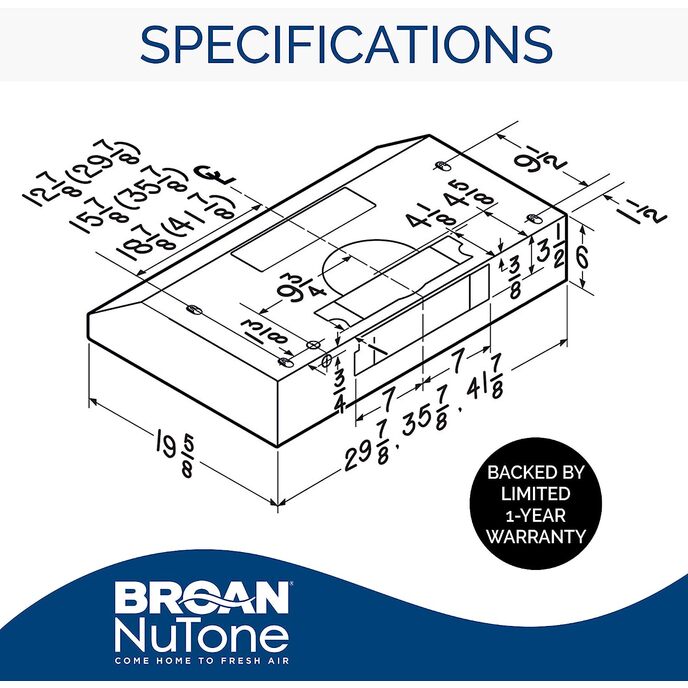
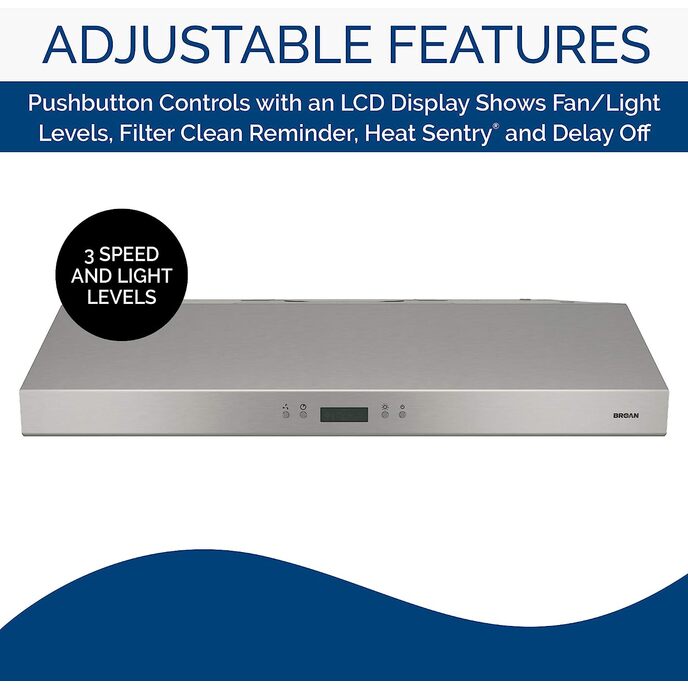
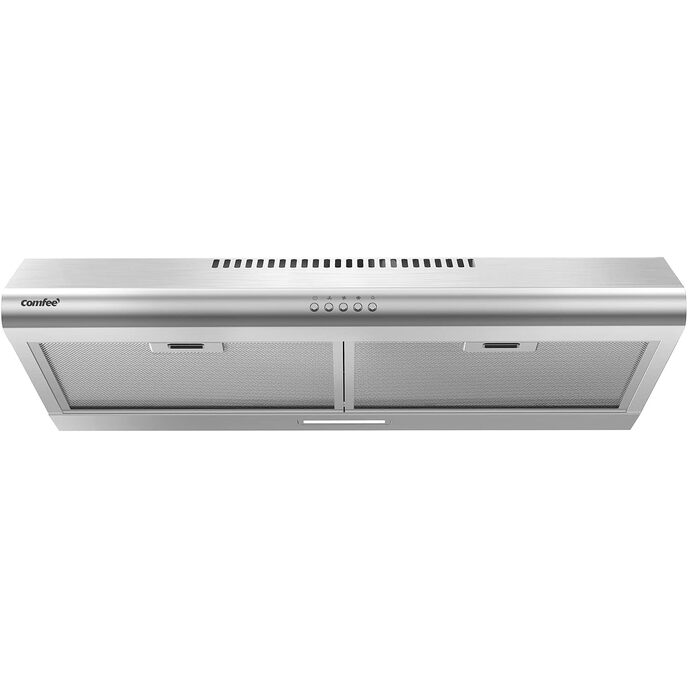
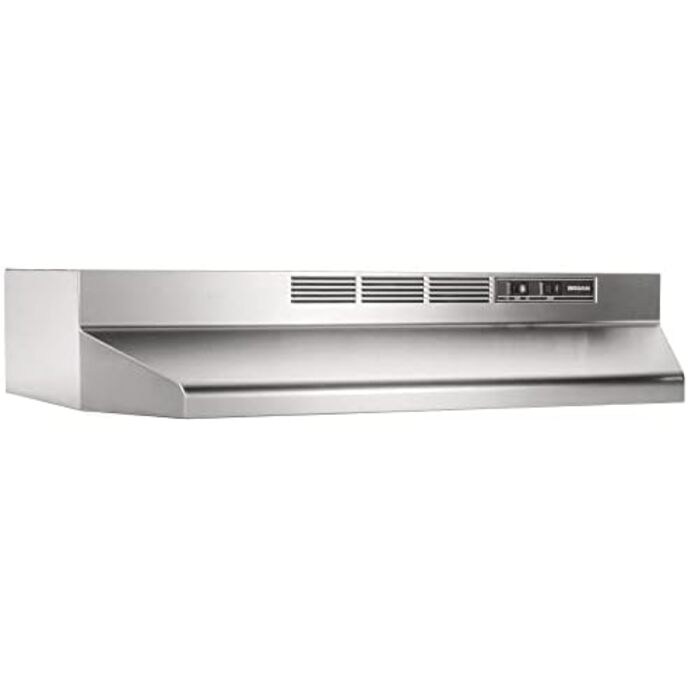
We had an old contractor-grade low-volume vent hood that wasn't cutting it. So when we recently bought a new gas range, we decided to get a new vent hood as well, and bought this Broan model. Once I got it installed (8 hours and two Home Depot trips later) I was quite happy with the performance. The dual fans are powerful but quiet, and come with an timed turn-off option that is handy. And the three-level LED lights are nice and bright. The controls are inutitive and easy to use. However... 1) I found the directions difficult to parse, especially as they are in teensy-weensy print with correspondingly teensy-weensy diagrams. How hard could it be to make the print and diagrams bigger? 2) The cabinet above our range is framed and had a recessed bottom. The previous hood fit within the recessed bottom, so there was no problem. The new hood did not fit within the recessed bottom. The intructions told me to use shims in this situation, but the "shims" would have needed to be 1 3/8" thick (!) which is not a standard lumber dimension, and would have resulted in the hood being too low. I ended up removing the trim piece at the front of the cabinet (no mean feat, as it was secured with inaccessible pocket screws) and replacing it with a not-easy-to-find trim piece (poplar vs original oak, Home Depot trip) that resulted in no recess, and then tried to match the stain of the oak cabinets, with not very great results (see photo). 3) The instructions say to install the hood and then connect the ductwork, but this proved to be impossible. I needed to connect my hood vertically to a 7" duct in the cabinet above the range. But the damper/transition piece that came with the hood was no thicker than the bottom of the cabinet, so there was no way to connect ductwork to it after the hood was installed. Instead, I had to screw-and-tape a 2-foot length of 7" semi-rigid flex duct (Home Depot trip) to the top of the hood (picture the hood with a tall stovepipe hat on top, see photo) and then fish the duct through the 7" hole in the bottom of the cabinet, all the while fishing the power line coming into the back of the hood. I'm sure it made for a comical sight, with me and my son (both of us about 6 feet tall and neither of us thin) crammed into the 30" opening in the cabinets, manipulating the hood, duct, and power line! 4) The two pre-drilled holes for securing the front part of the hood to the bottom of the cabinet would not work, as they lined up right at the front edge of the bottom, where they would have split the wood and not held. We had to drill new holes in the hood (not a lot of access space inside that hood!!) and use these for the front screws. For new construction, or complete kitchen remodels, I'm sure installing this hood would be a piece of cake, but not for our kitchen. Oh, and I had to buy the 7" semi-rigid flex duct ($25), some metal-backed tape ($6), a pair of tin snips to cut the semi rigid duct ($15), some 8" worm-gear clamps ($11) and various odds and ends. Think twice about installing this yourself!