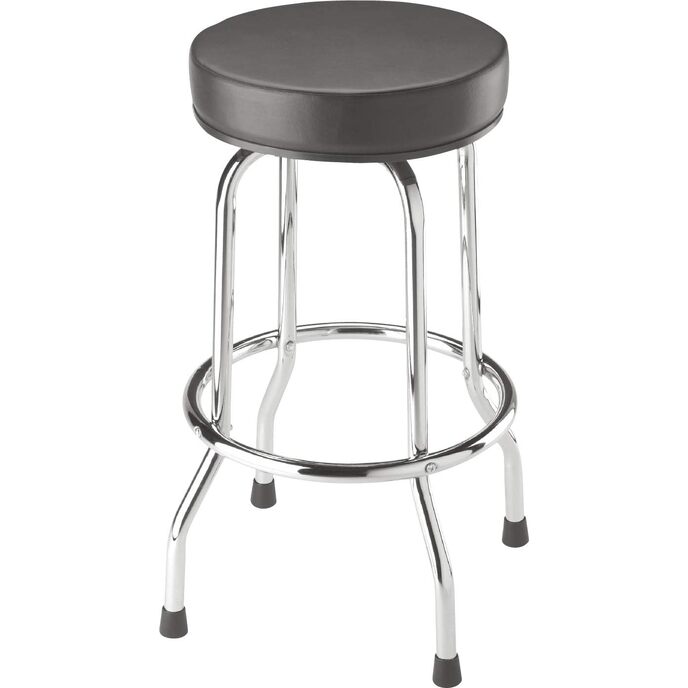
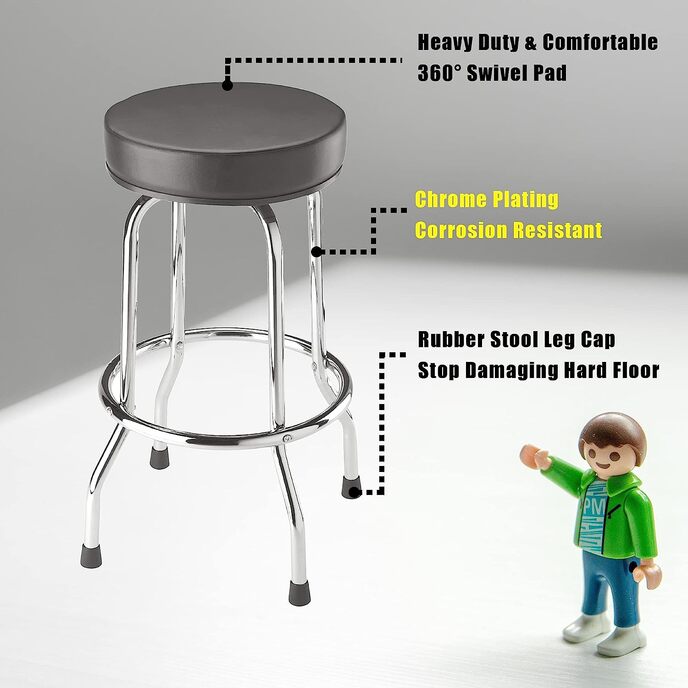
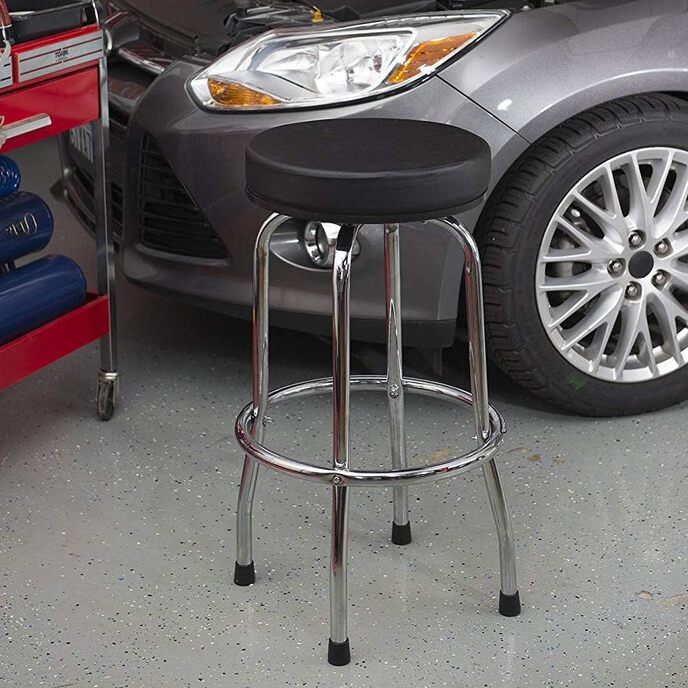
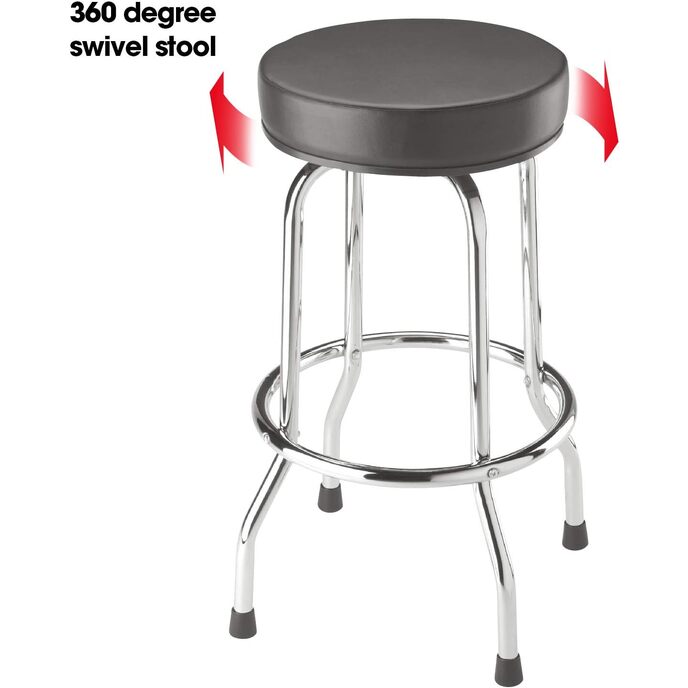
Right away, as others have noted, the seat is not leather, says right on front of box "Commercial Grade Vinyl", padding is fine, it does give in, but is comfortable and rebounds after use. To the people complaining about assembly, I never even opened the instruction booklet, it was very intuitive to me how it was to go together. Here are some tips and steps I followed to make assembly as easy as possible (You will need a #3 Phillips head screwdriver and 10 mm box end or open end wrench) - 1. If you have a workbench or other elevated surface, start assembly near it 2. Remove all items from box, remove plastic covering from everything. 3. Lean the legs against your workbench or surface, put seat upside down on bench, leave swivel mechanism on bench 4. Unpack bolts, nuts and washers, sort them out in matching sets, 4 shorter bolts with washer and nuts, 4 longer bolts with washers and nuts, one countersunk head bolt with washer and nut 5. The countersunk head bolt is what you will use to assemble the 2 leg pieces together. Put the leg set with flat spot in center under the other leg set at 90 degree angle. The top leg set should have a countersunk hole, put the countersunk head bolt in the hole, put washer and nut on other end and tighten, tighten fully as you will not be able to get to the head later. 6. Now take the swivel assembly and rotate top so it resembles a 6 pointed star when looking at it from above, this will allow access to the bolts to assemble to both legs and seat 7. Set the swivel assembly on top of the legs you just assembled (don't put leg ring on yet, wait!) 8. Using the 4 shorter bolts, drop them through the slots on the swivel plate through the holes on the top of the leg assembly. After all 4 bolts are though, put the washers and nuts on other end, hand tighten 9. Now, with the leg assembly standing up, drop the foot rest ring over the legs, pay attention to line up the holes in the ring with the legs. Push it into approximate position. 10. Now lay the assembly down horizontally, position yourself at the bottom of the leg assembly, pull the ring into place to line up hole in ring with hole in leg by sight, now drop one of the longer bolts though both holes, make sure it goes through the foot rest and the leg. Do this for the remaining 3 holes in the foot rest. 11. Now stand the stool back up, put washers and nuts on all 4 bolts, now tighten the bolts fully. 12. Go back and fully tighten the bolts on the swivel assembly. 13. With seat face down on bench, remove the 4 countersunk screw bolts from seat 14. Set leg assembly on top of seat, line up holes in top part of swivel assembly with holes in seat, put one bolt in a time, hand tighten. Once all bolts are through swivel assembly, tighten fully. That is it, sounds like a lot, but it goes very quickly if you have proper #3 Phillips screw driver and 10 mm wrench. Took me no more than 20 minutes from opening box, unwrapping parts and full assembly. Hope this helps others.